The framing story so far…
Continuing my explorations from my previous ‘framing conundrum’ blog…
To be sure that the new frame that I have designed and detailed will be in scale with my oil paintings, I have made a mock up out of timber.
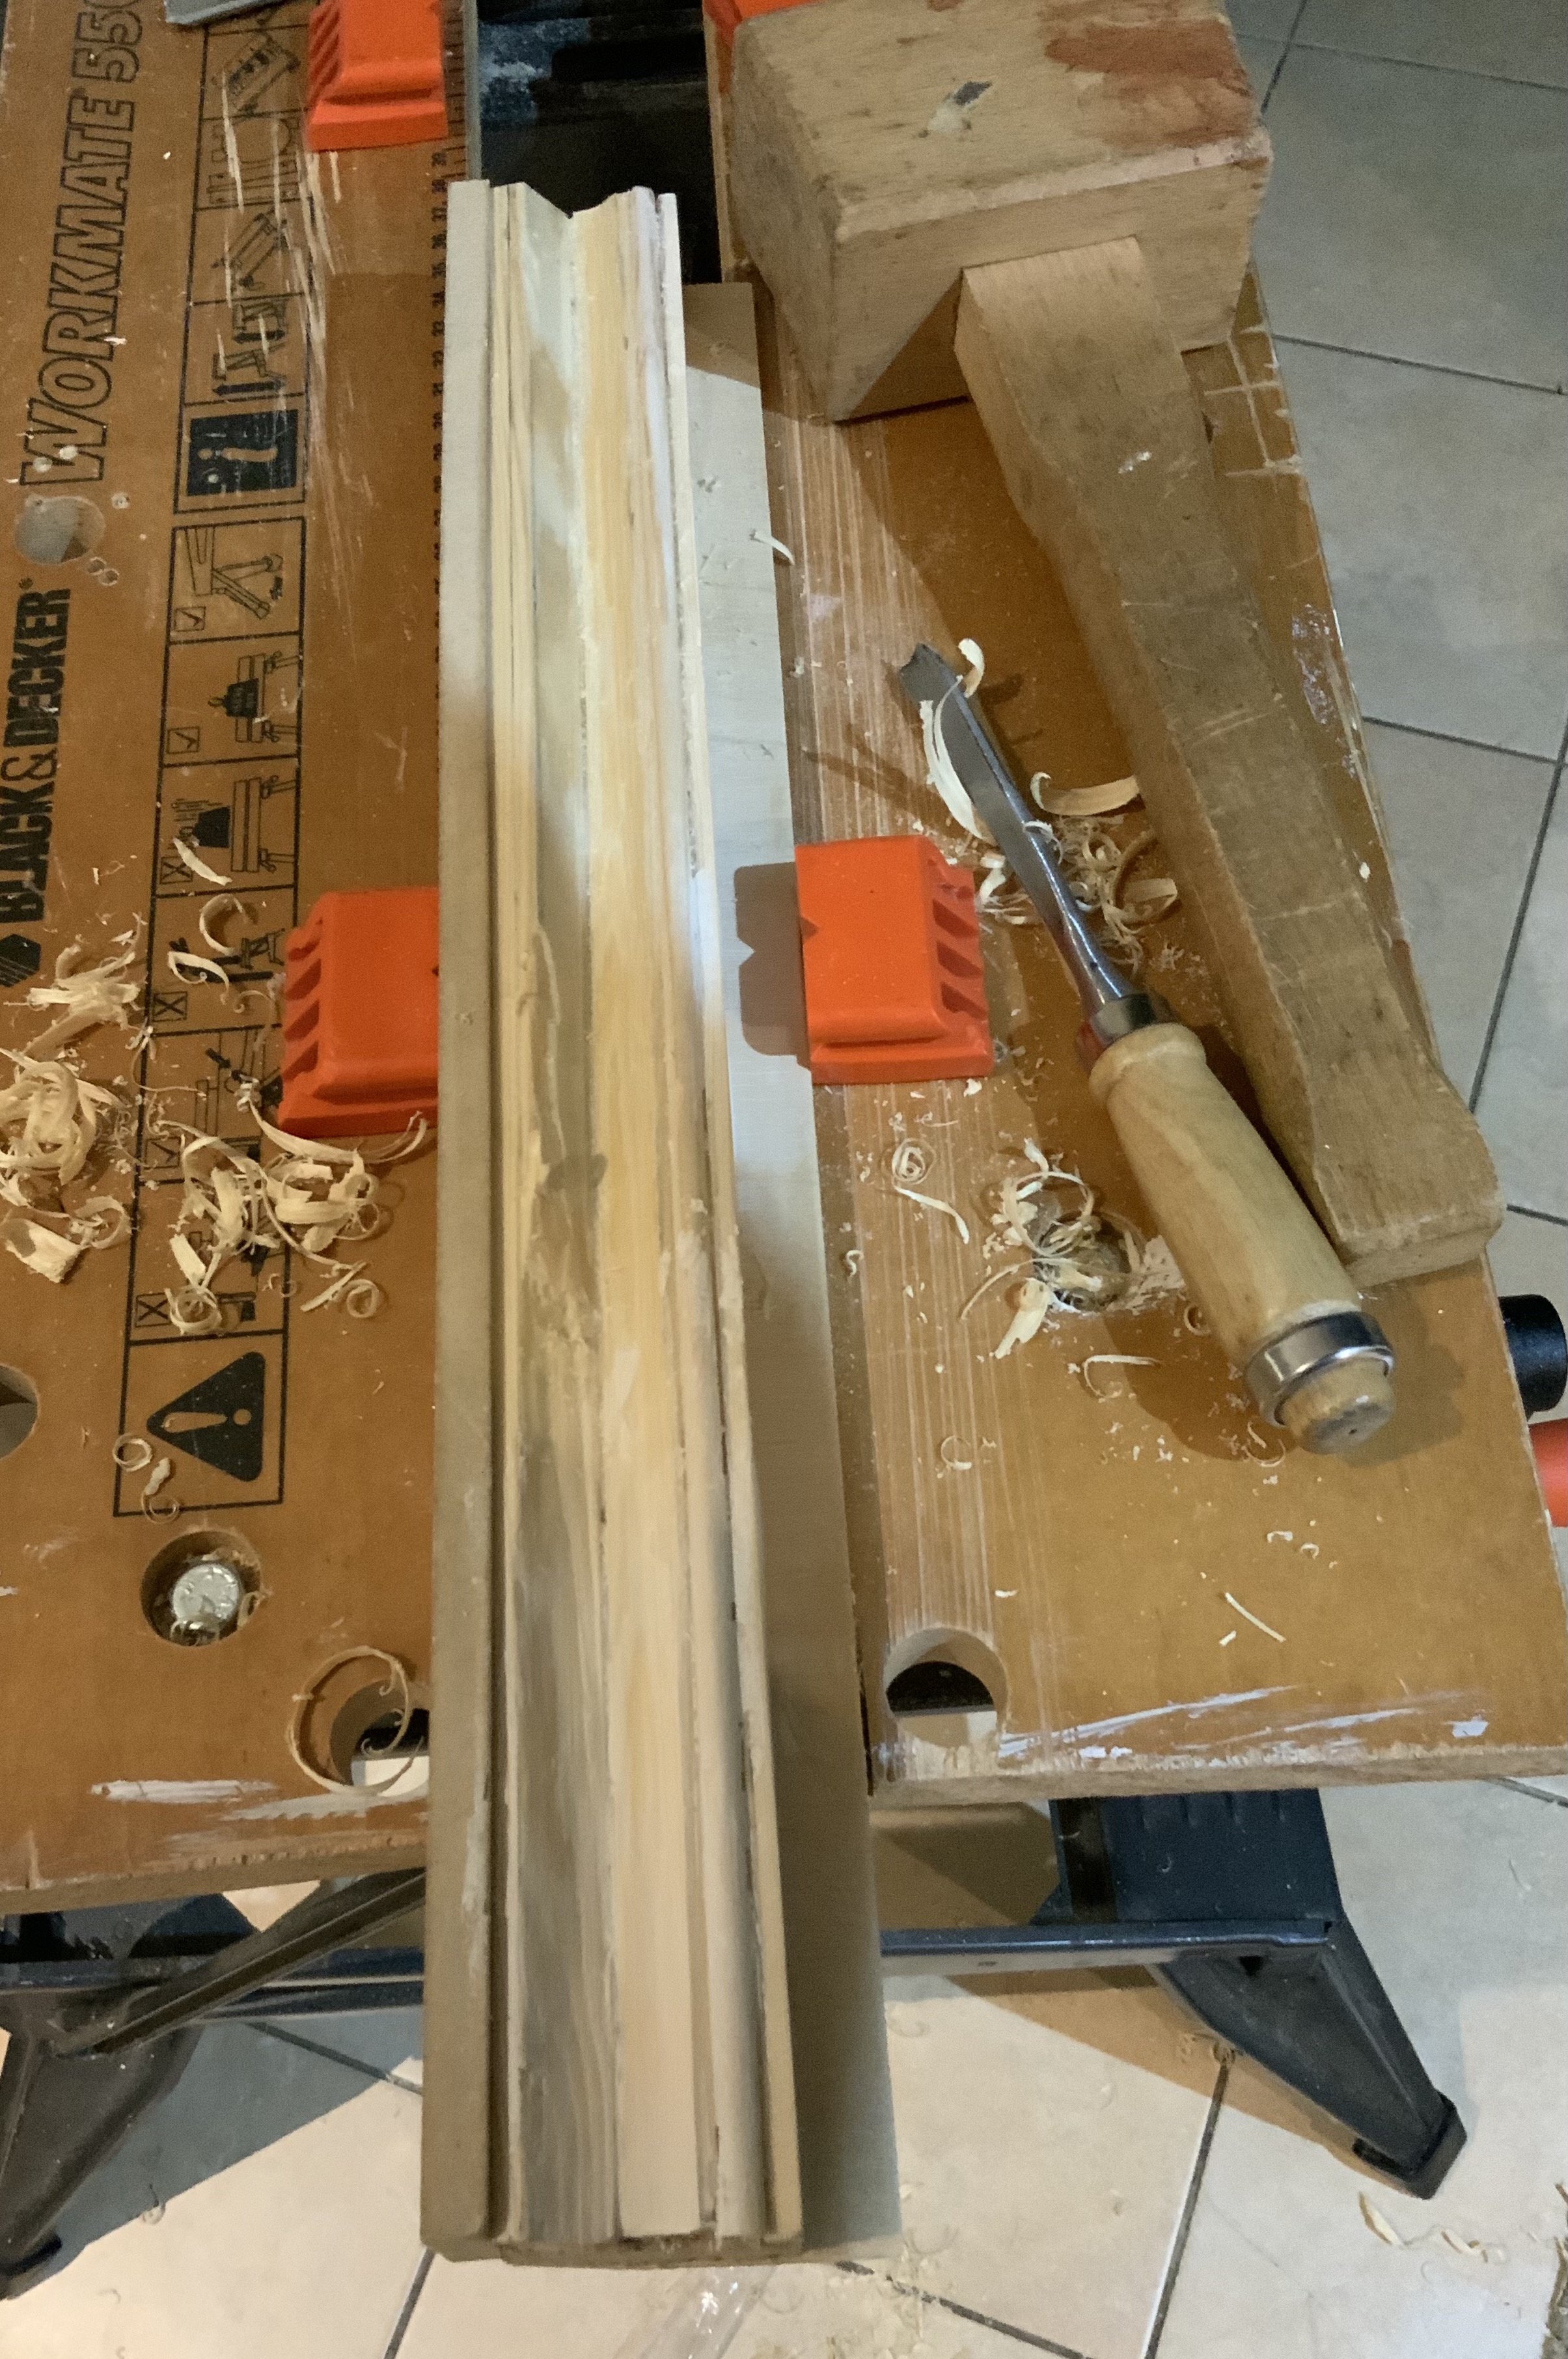

It was not possible to get all of the profiles locally and it would be very expensive to get a cutter made, for a joinery workshop to run out a section. With this in mind, I used some offcuts that I had and bought some beading with suitable small timbers that I could put together and hand carve, to the section that I wanted.
To reduce the visual weight of the frame a little, I reduced the outer edge depth down to 35mm from 38mm (1 1/2”). On my details, I had a groove shown in the edge, to help make it feel lighter but I chose to ignore this with the sample because I did not have the tool for this job at the time. Also, with a dark colour this groove would disappear. The sample was largely for scale and to get a clearer idea of the colour/finish.
Another amendment that I will need to make is to increase the projection of the inner edge, adjacent to the picture shadow gap, to help make the painted painted edge merge more into the shadow.
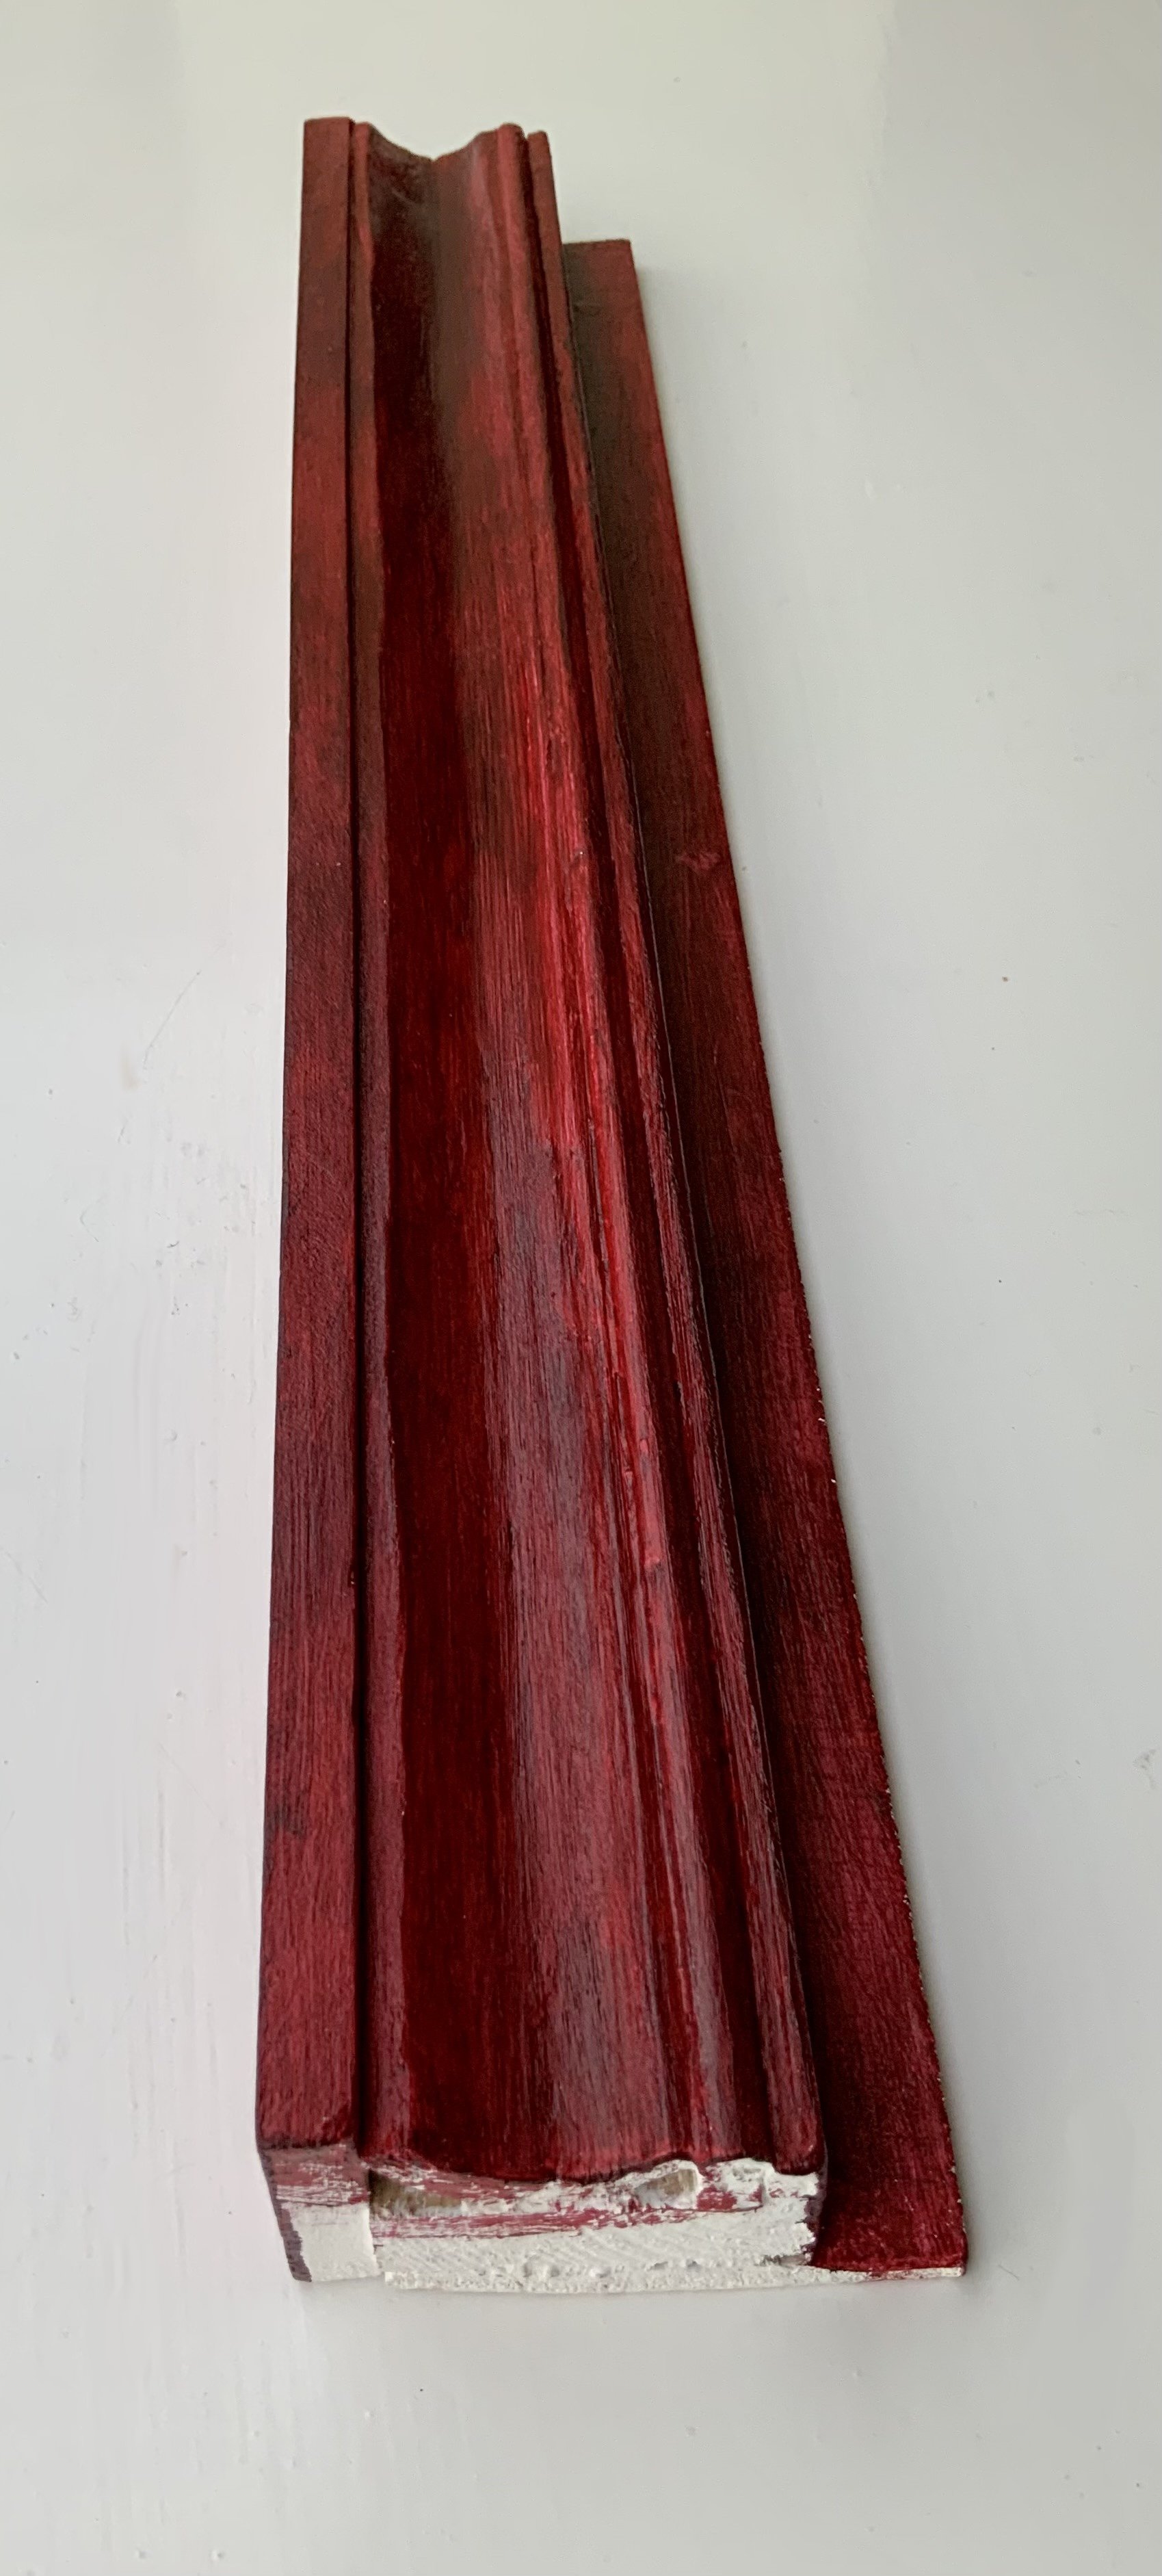
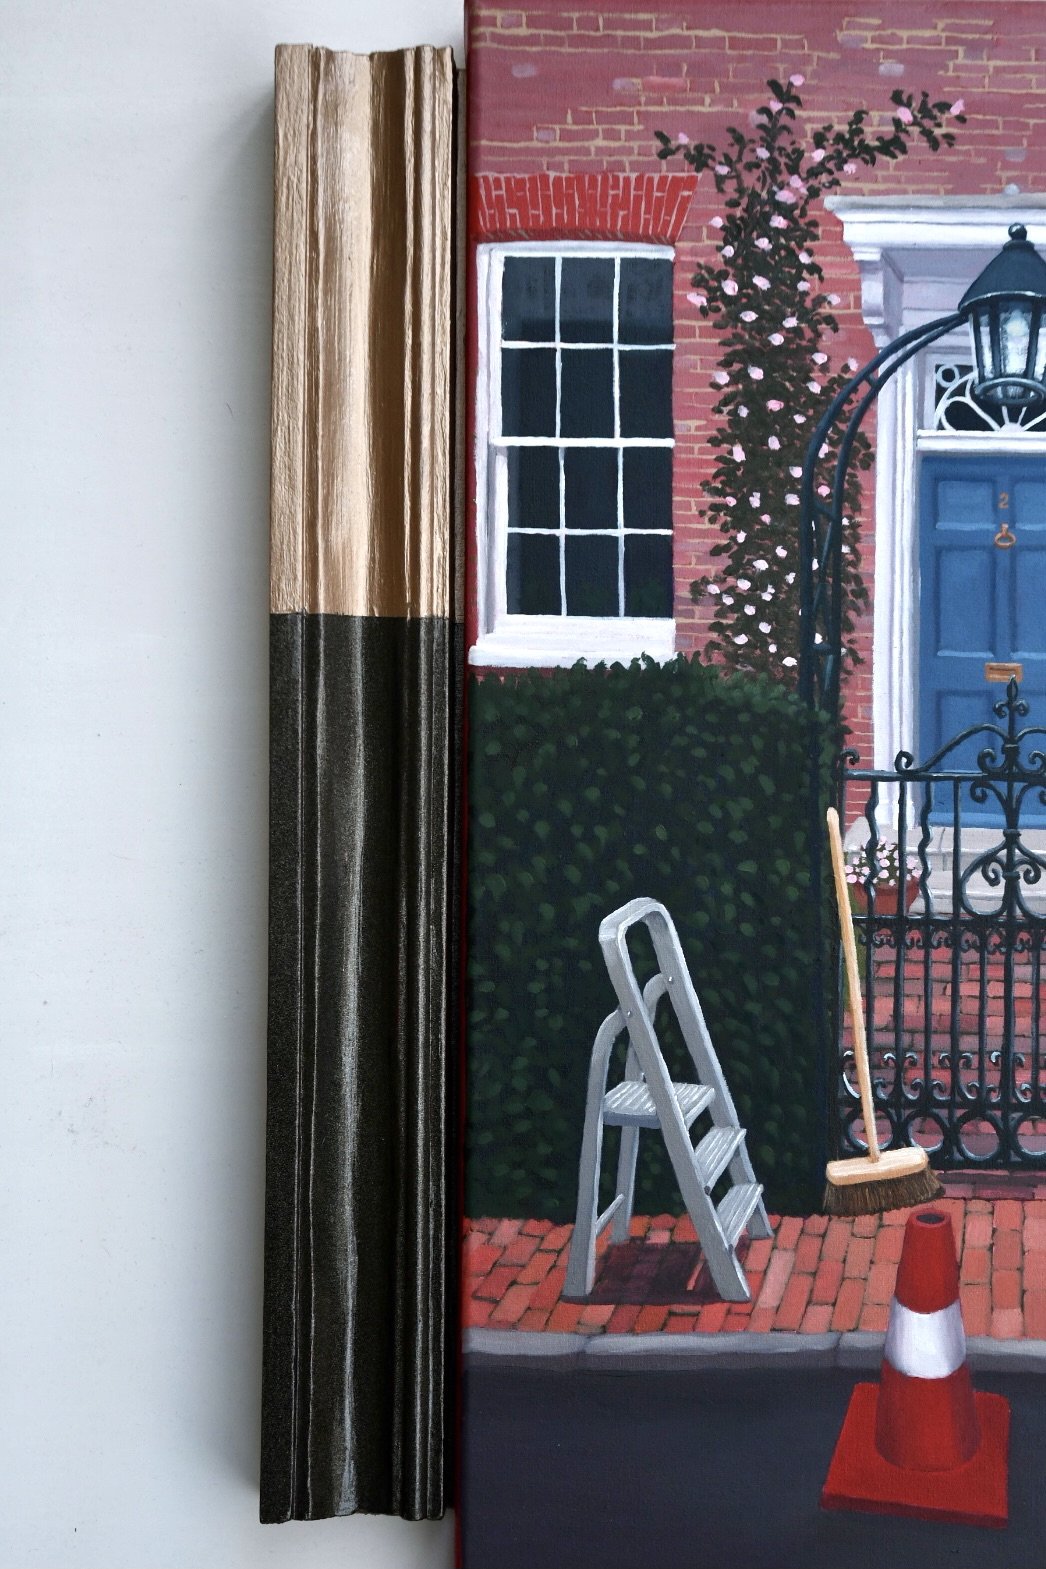
I tried two bronze finishes on the frame and much prefer the darker bronze colour, which was an oil rubbed bronze metallic spray in this instance. It also has more depth as a finish, so that it is not too bland and to help the mouldings to be seen. I feel that this works better with the colours on my paintings. I applied the undercoats in a gesso, which I rubbed down lightly with fine sand paper, then I used a coat of Quinacridone Crimson Golden acrylic as the base coat, to add some warmth and depth, to relate with the edge of the paintings. So choice of colour will be an antique bronze.

After the tweaks to the section on my details, I will next explore getting the frames made.
Watch this space for further framing instalments…